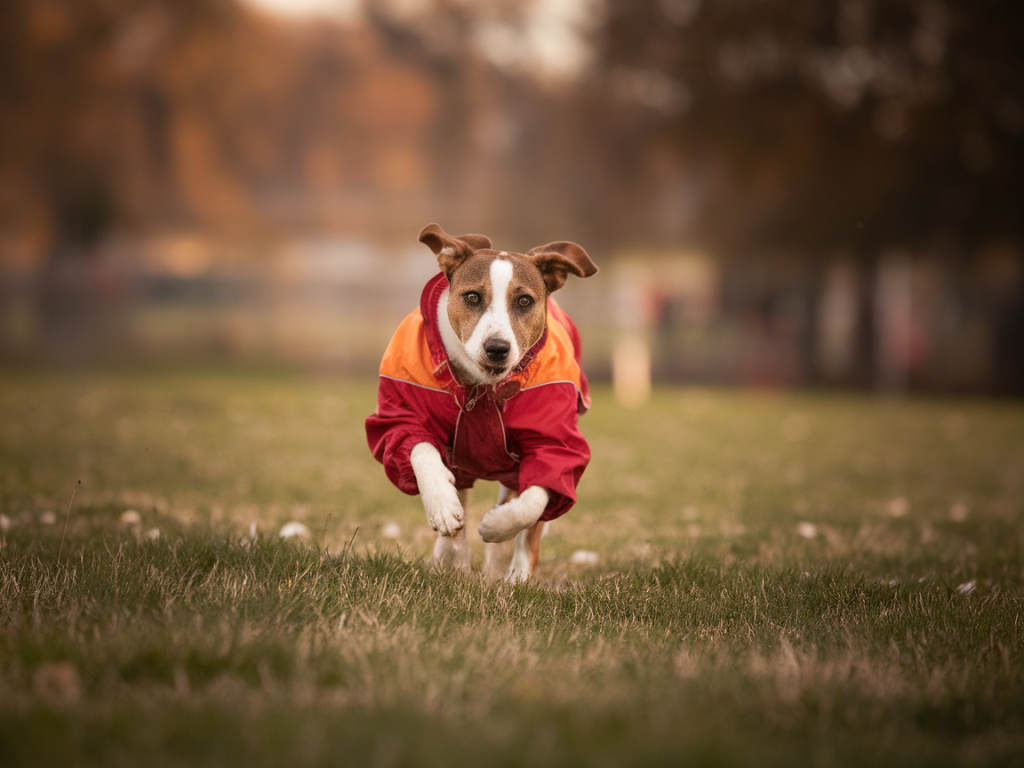
I’m obsessed with making the little moments my cat and dog do look like they belong in a coffee-table short film, not just another shaky phone clip. Over the years I’ve found a surprisingly simple formula that turns home pet videos into cinematic reels: the right camera settings on your smartphone plus a cheap clip-on LED (think under $20) and a handful of staging tricks. No fancy gear, no studio—just small changes that make a big visual difference.
Why settings matter more than megapixels
We live in an era where most phones can capture beautiful footage, but default modes are optimized for convenience, not cinematic mood. If you want that glossy, film-like look, you need to think like a filmmaker: frame rate, shutter speed, white balance, exposure, and focus. These control motion, clarity, color, and overall vibe. Once you lock those in, a tiny clip-on light fills in the rest—literally.
The exact smartphone settings I use
Below are the precise settings I choose on my phone (I switch between an iPhone and an Android Pixel depending on what’s handy). If you use a third-party app like Filmic Pro or ProCam you get more control; otherwise most stock camera apps let you set many of these parameters in manual or pro mode.
- Resolution: 4K if you plan to crop or want maximum sharpness. 1080p is fine for Instagram Reels and saves space.
- Frame rate: 24 fps for a cinematic motion blur. Use 30 fps for social-native feel or 60 fps if you plan to do slow-motion (shoot 60 fps and play back at 24 or 30 fps).
- Shutter speed: The rule of thumb is double your frame rate. So at 24 fps set shutter to ~1/48 or 1/50; at 60 fps use 1/120. This keeps motion natural and filmic.
- ISO: Keep ISO as low as possible to avoid grain—usually ISO 50–200 indoors with supplemental light. Increase slightly only if needed.
- White balance: Set manually (e.g., 3200K for warm lamp light, 4000–5000K for daylight). Auto white balance can shift mid-shot and ruin the mood.
- Focus: Tap to focus and then lock it. Pets move, but locking when they’re doing something cute prevents the camera from hunting mid-shot.
- Exposure compensation: Dial it down slightly (–0.3 to –0.7) to preserve highlights and keep a moody look. You can brighten in post if needed.
- Lens choice: Use the wide lens for close-ups of whiskers and fur texture; use the main lens or portrait lens for headshots with background separation.
The $20 clip-on light that changed my reels
I tried pricier lights and panels, but the small clip-on LEDs are the real trick for pet content. They’re cheap, portable, and clip to furniture, shelves, or even to your phone. My go-to is a small clip-on LED in the Ulanzi family (model VL49 or similar). On sale you can often find them around $15–$25. Generic clip-on RGB LEDs work too—look for one with adjustable brightness and color temperature.
- Why clip-on? It allows you to position a key light super close to your subject without needing stands. It’s discreet and fast to move.
- Settings I use on the light: Warm color temp ~3200–4000K for cozy indoor scenes; around 5000–5600K if you’re using natural daylight. Brightness at 30–60% usually avoids overexposure.
- Diffusion: Clip-on LEDs can be harsh. If your light is too sharp, soften it with a tiny diffuser (a piece of tracing paper, a white tissue, or the diffusing cap that often comes with the light).
How I light my pets for a cinematic look
Lighting is three-part: key, fill, and back. With one clip-on light you can fake this arrangement.
- Key light (clip-on): Clip it slightly above and to the side of your pet’s face. That creates depth and a gentle shadow on the opposite side—very cinematic.
- Fill light (ambient): Use window light or household lamp on the opposite side with lower intensity. This prevents harsh contrast while keeping the filmic mood.
- Back / rim light: If possible, put a tiny lamp or another clip-on behind the pet to separate them from the background. Even a small highlight on the ears adds pro polish.
Practical shooting tips and staging
- Get down to their level. Low angles feel intimate and cinematic. My favorite shots are at eye level with the pet, not from standing above.
- Shoot wide then push in. Start with a wider shot for context, then slowly walk toward them or tap into a tighter lens. Slow push-ins create tension and emotion.
- Use treats, toys, or noise for eyes-on-camera. A small squeaker or treat on a stick gets attention without disrupting movement too much.
- Shoot in bursts. Pets are unpredictable. Keep recording or use short clips and stitch them. Reels allows you to assemble the best moments into a single narrative.
- Stabilize. Use a small tripod, gimbal, or even rest your phone on a cushion. Subtle, steady movement looks better than shaky handheld footage.
- Capture sound separately (if important). If you want authentic purrs, barks, or ambient room sounds, record a short audio clip on another phone or a small recorder. You can layer this over the footage for richer sound design.
Quick reference table: settings for common pet video scenarios
| Scenario | Resolution | Frame Rate | Shutter | ISO | Color Temp |
|---|---|---|---|---|---|
| Slow, cinematic close-up | 4K or 1080p | 24 fps | 1/50 | 50–200 | 3200–4000K (warm) |
| Playful action (pouncing) | 1080p | 60 fps (for slow-mo) | 1/120 | 100–400 | 5000–5600K (daylight) |
| Indoor low light | 1080p | 24–30 fps | 1/50–1/60 | 200–800 | Match house lights (3200–4000K) |
Editing tips to sell the cinematic look
After you capture the footage, the edit is where magic happens. I use Lightroom (for color on stills) and CapCut or InShot for mobile video edits. Even simple color grading can lift the filmic feel—push contrast slightly, add a teal-orange split, and keep highlights under control. Add subtle music and trim clips tightly: cinematic pacing often breathes slower than typical social cuts.
Finally, experiment. Try a 24 fps clip with your clip-on light angled differently, or test a slightly cooler white balance for a moody, high-fashion pet portrait. Once you start seeing your pets in cinematic terms—light, shadow, motion—you’ll spot dozens of tiny adjustments that collectively turn adorable moments into sharable, stylish reels.