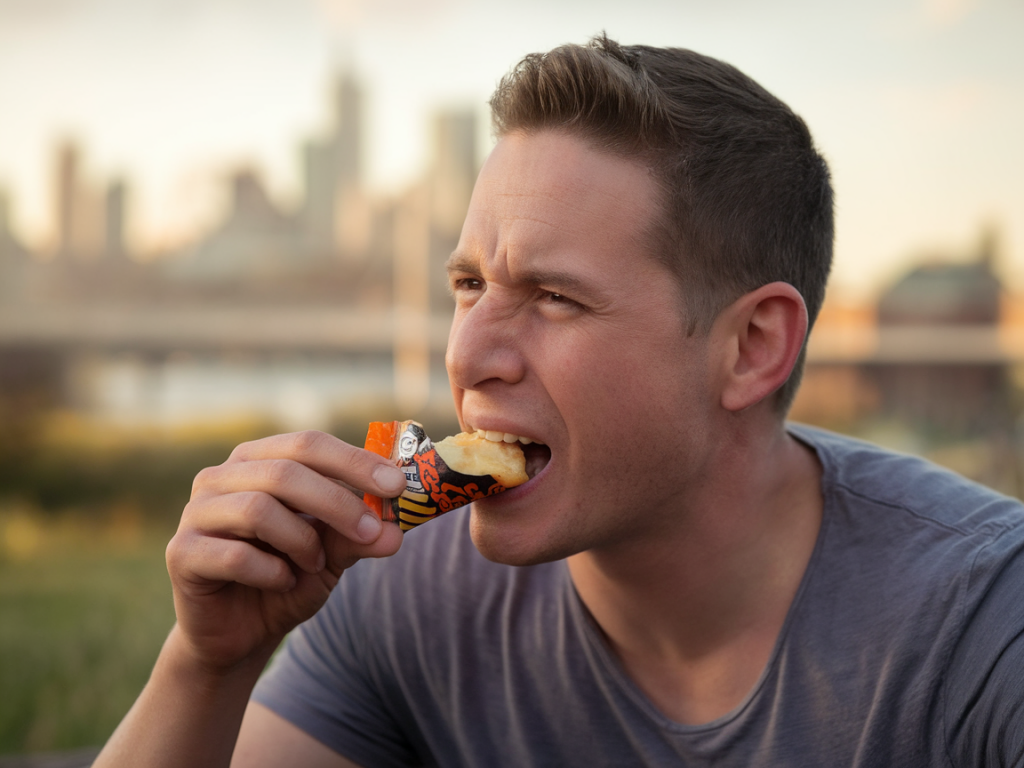
I love a good snack—and I love a good video. When I think about indie snack brands, what excites me most is the chance to turn something humble (a crunchy chip, a sticky bar) into a tiny cinematic moment that makes people stop scrolling and actually click “buy.” Here’s how I make a product demo for a small snack brand feel cinematic on a phone and, yes, help boost sales.
Why “cinematic” matters for snack videos
Cinematic doesn’t mean expensive. It means thoughtful. A cinematic snack demo tells a sensory story: texture, sound, color, and a little emotional promise (comfort, adventure, nostalgia). On phones, viewers rely on visuals and sound to decide whether they want that product in their lives. When you make it feel like a short film, you make the snack feel worth trying.
Start with a tiny story
If you skip storytelling and only show the product, the video becomes forgettable. I always start with a micro-narrative: Are we selling indulgence after a long day? A shareable snack at a picnic? A midnight craving solved? Even 10–20 seconds should have a beginning (hook), middle (sensory payoff), and end (CTA).
Example hooks I use:
Pre-production: plan for mobile viewing
Phones are vertical-first. Plan for 9:16 and 1:1 at minimum. Think about where text and product labels will live on-screen so captions or stickers don’t obscure critical visuals. Write a 1–3 bullet shot list—nothing heavy—so your shoot moves quickly and you capture the essentials.
Also decide: is this hero content (branded, cinematic) or a snackable cutdown for Reels/TikTok? I often shoot a 15–30s hero and then make 3–4 micro-cuts (6–15s) optimized for social platforms.
Shooting on a phone: composition and movement
Phones now have amazing cameras. Key techniques I use:
Lighting: make texture pop
Lighting is the magic of cinema. For snacks, good lighting equals delicious-looking texture.
Sound design & music: don’t underestimate crunch
Sound sells snacks like nothing else. If possible, record a separate close-up mic of the crunch (or use a different snack sound if the original isn’t satisfying). Layering and mixing accomplishes the cinematic feel.
Color and grading: make your snack pop
A light grade can elevate a phone video from “homemade” to “crafted.” I aim for natural but punchy colors that make the snack look real and delicious.
Editing and pacing: tempo sells taste
Snack demos live on tempo. Quick cuts keep energy up; slow moments sell texture. My go-to structure:
Use jump cuts for energy, but let slow-mo breathe when texture is being sold. Add subtle motion graphics for product name and price—keep them legible on phone screens.
Calls-to-action that convert
CTAs must be short and clear. I prefer two-pronged CTAs:
Make your CTA frictionless: link directly to the product, offer a small discount for first-time buyers, or create a limited-time bundle that feels urgent.
Distribution: optimize for platforms
Different platforms favor different cuts.
Always upload a square or vertical thumbnail that shows the product clearly with a short headline—this improves click-throughs.
Leverage UGC and influencers
I ask customers and micro-influencers to film a short “first bite” reaction and send the raw files. UGC paired with your cinematic B-roll is a conversion powerhouse: authenticity plus polish. Comp clips of real reactions + your hero footage amplify trust and desirability.
Affordable gear and hacks
You don’t need a Hollywood budget. Essentials I rely on:
Hacks: use a larger, crunchier snack as a sound surrogate if the real product is too soft; shoot multiple takes and vary bite sizes for different crunch intensities; use household items (baking tray, wooden board) for interesting reflections and textures.
| What to film | Why |
|---|---|
| Packaging tear in slow-mo | Creates immediate hook and reveals product |
| Macro of texture | Sells crunch/chewability |
| Hands sharing the snack | Shows scale and social value |
| Product in context (picnic, desk, couch) | Helps viewers imagine using it |
| Close-up crunch audio | Triggers desire through sound |
If I had to sum up my approach in one sentence: make people feel the snack before they taste it. With deliberate lighting, tight sensory editing, and a tiny story, even an indie snack brand can feel like a mini film on your phone—and that emotional pull is exactly what nudges people from “looks good” to “add to cart.”