I’ve spent years hunting down tiny upgrades that make a big difference in what I post—short clips that get shared, little moments that feel cinematic, and the occasional experiment that flops but teaches something useful. One of the most satisfying discoveries for me has been how a simple, inexpensive phone lens attachment can turn your ordinary home videos into something that looks way more polished. If you’re wondering which cheap phone lens upgrade is actually worth buying, I’ve tested a bunch so you don’t have to. Here’s what I learned, in plain talk and with the kind of joyful curiosity that runs this site.
What do phone lens attachments actually change?
First, the basics: phone lenses clip over your phone’s camera and change the field of view, distortion, or magnification. Most budget kits offer three staples:
What many people expect—and often hope for—is a built-in cinematic look. The truth: lenses won’t magically create film-level color grading or fix shaky footage. But used right, they can change composition, depth, and perspective in ways that make footage read as intentional and therefore more cinematic.
Which cheap lens actually delivers the most cinematic upgrade?
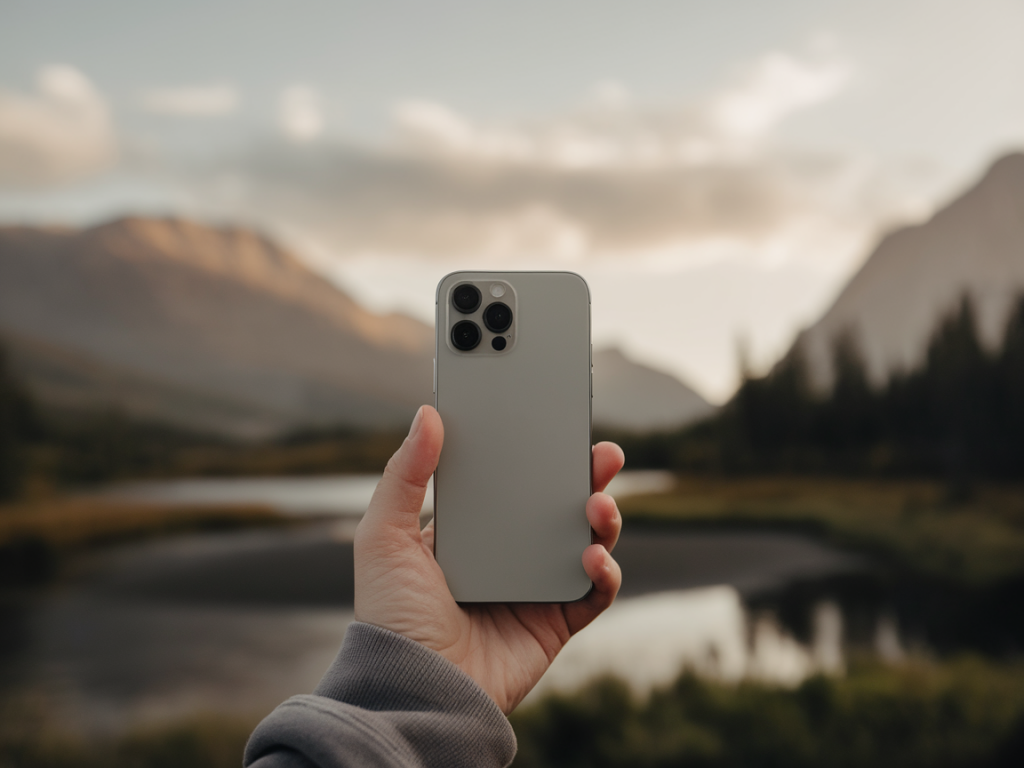
After testing several popular budget options (think Aukey, Xenvo, Moment knockoffs, and generic Amazon kits), the single most impactful upgrade for home videos was, hands down, a quality telephoto/portrait clip-on lens in the $25–$60 range. Why? Because it helps you get three things that scream "cinematic": compressed perspective, softened background, and flattering facial proportions—without relying solely on software bokeh.
My favorite inexpensive pick: the Xenvo Pro Lens kit (often found on sale) or similar 2x optical telephoto clip-ons. They’re not perfect, but the optical compression is real and useful. For under $50 you get a lens that lets you stand a little further from your subject while still keeping them prominent in frame, which gives a more natural, film-like spacing.
How does telephoto create a cinematic look?
Cinematographers use longer lenses to compress the scene and make background elements appear closer to the subject. On phones, that compression is limited by sensor size, but a modest optical telephoto still:
What about wide-angle and macro lenses?
Wide-angle lenses are fun and handy—especially if you film in small spaces or want dramatic POV shots. They can make a kitchen vlog feel dynamic or fit your whole living room into frame. But wide lenses can also make faces look distorted up close, which is a quick way to lose that cinematic feel unless you embrace the style.
Macro lenses are delightful for tiny detail shots—bubbles in coffee, the texture of a cookie, a ring on a finger. They’re not a general cinematic upgrade but are invaluable as an accent tool. A few macro inserts sprinkled into a video add production value and help tell a tactile story.
How to use a cheap telephoto lens to get the best results (tips I actually use)
Brands and specific products I recommend
If you want a shortlist of affordable, reliable options I’ve tested:
Note: Avoid ultra-cheap multi-lens kits that promise 12x or magical performance. They tend to have severe distortion and soft output.
Common questions people ask (and my answers)
Quick comparison table
| Lens type | Best for | Limitations |
|---|---|---|
| Telephoto (2x) | Portraits, compressed backgrounds | Amplifies shake, may vignette |
| Wide-angle | Tight spaces, dynamic POV | Facial distortion up close |
| Macro | Detail shots | Very narrow focus plane |
My final takeaway from playing with these lenses is simple: if you want one cheap upgrade that consistently moves your home videos toward cinematic territory, choose a modest telephoto clip-on and learn how to use distance, composition, and light. It’s less about the lens doing magic and more about the new shooting decisions it enables. And honestly, making those decisions—stepping back, framing with intention, and paying attention to background—does more for your videos than any single accessory ever will.